This post covers all packages received by
Sew Quilt Share between
July 1, 2021 - September 30th 2021
If you are unfamiliar with the
cloth feminine pad project, you can learn more about it here.

This gift of pads is from an anonymous donor from Torry, Utah.
We thank you for your generous donation!


at our July Sew Quilt Share Meeting.
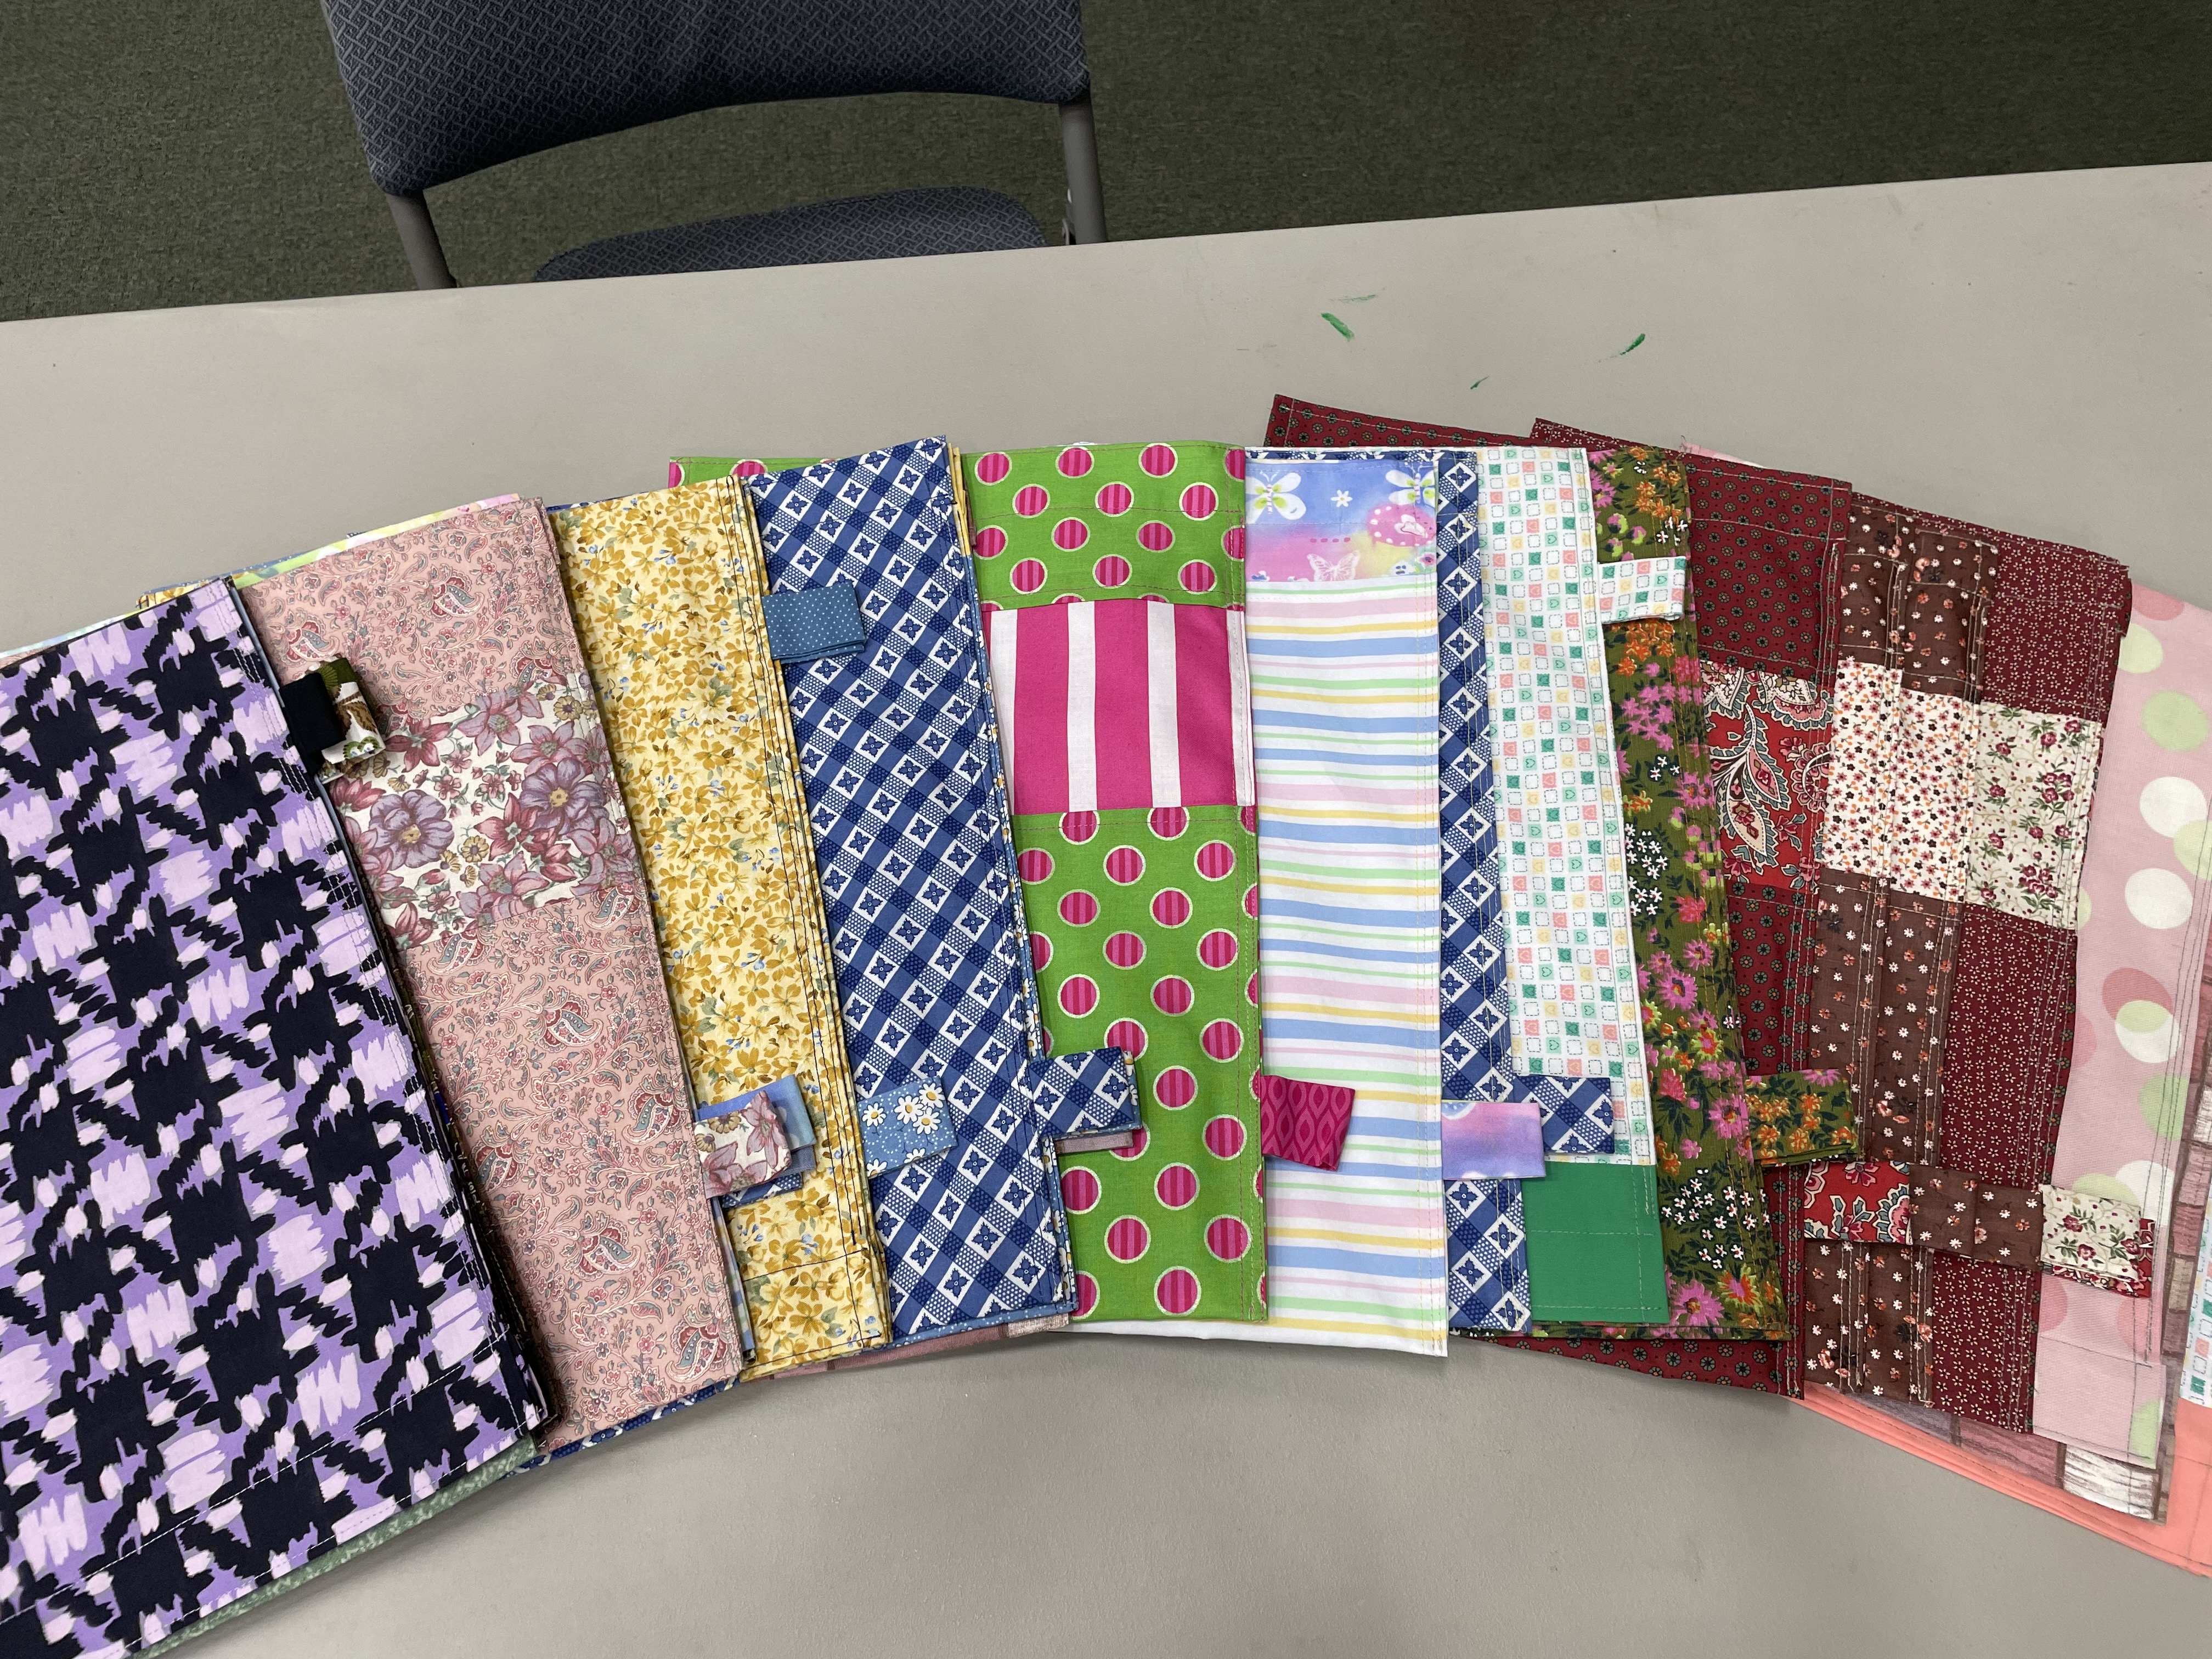
 18 feminine hygiene bags were donated


 These pads were donated by Linda from Coupland, Texas.

at our August Sew Quilt Share Meeting.

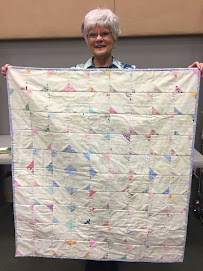
The ladies of First Lutheran Church
in Jamestown, New York sent this gift.
We appreciate your continued support!

This donation of pads, underwear, and hygiene bags
were sent by Ruth from Savannah, Tennessee.
We appreciate your donation Ruth!

Thank you so much Linda!

by a member of our Sew Quilt Share group.

These pads were created by Girl Scout Troop 1625
located in Bernville, Pennsylvania. The note they
included indicated that the girls wanted to make a difference
by helping other girls their own age.
Thank you for your thoughtfulness:)
These gifts are greatly appreciated and
provide a life changing opportunity to each girl who receives a set of pads.
These feminine pads will be donated as an outreach to students in the rural areas of Haiti. In the event that donations exceed the need,
excess pads will be donated to similar faith-based outreaches.
Please visit these links to learn how your gift of 12 (or more)
cloth feminine pads can make a difference:
May you always Sew in Peace!
Sandra
Due to an overwhelming amount of spam, comments for this article have been turned off.