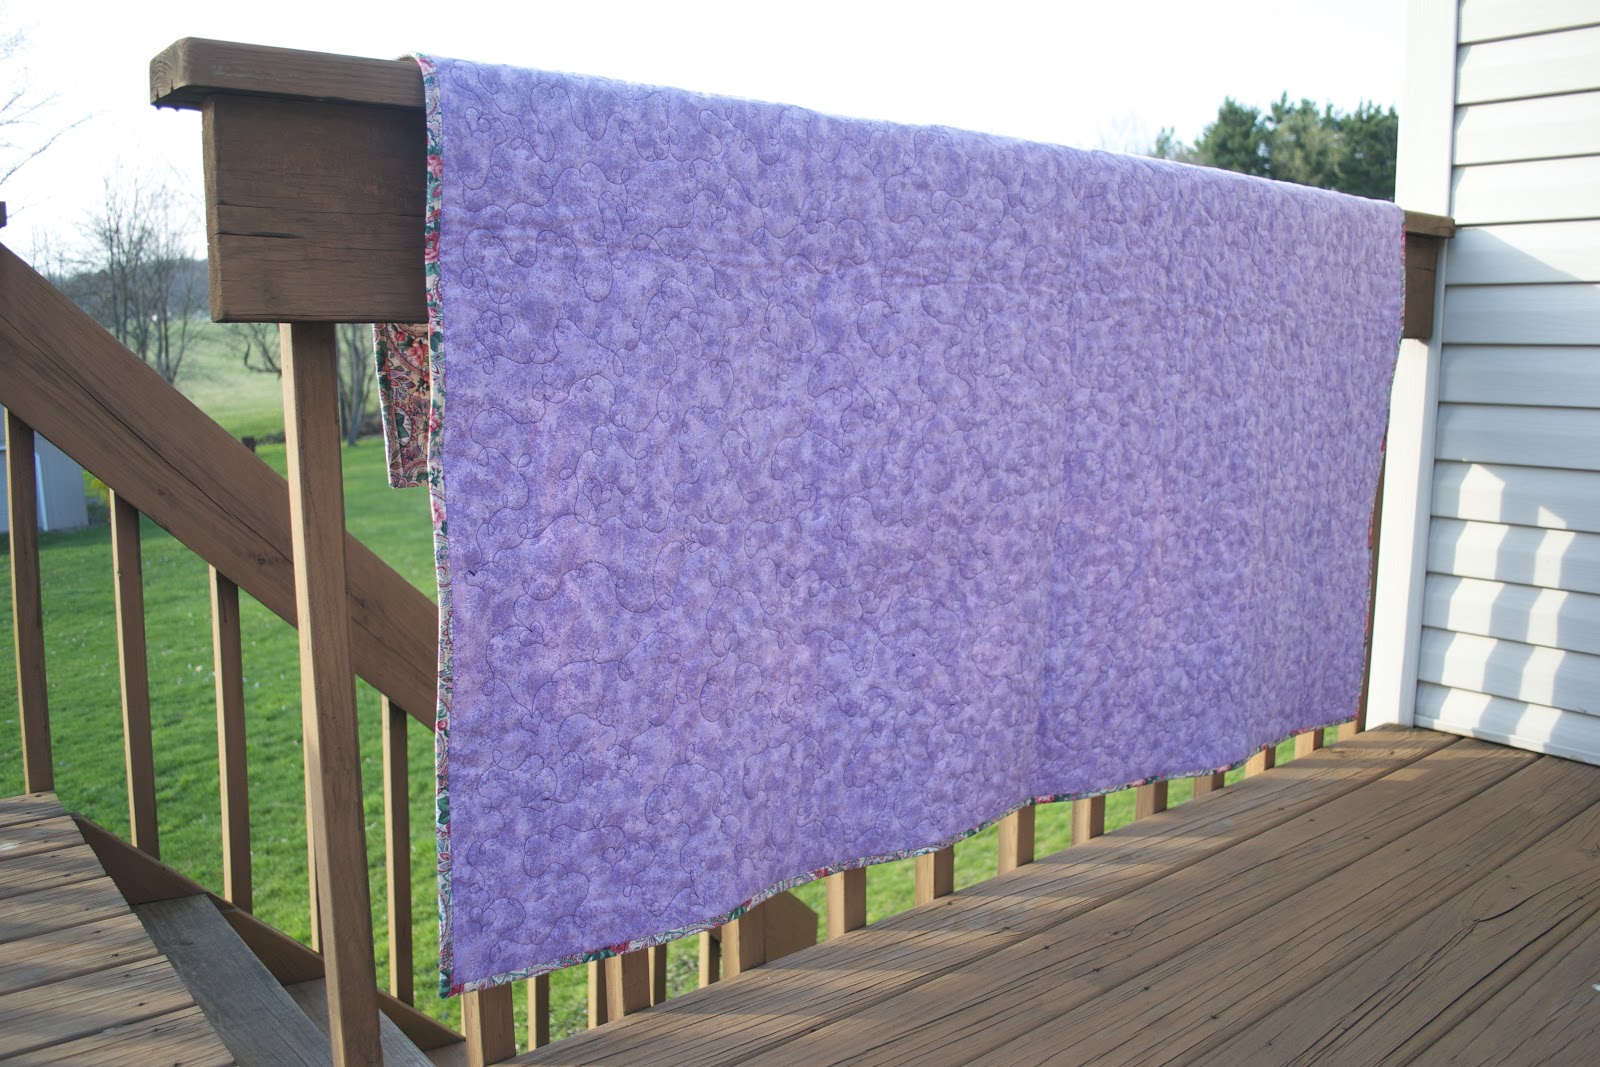
Showing posts with label Large Quilts. Show all posts

Wednesday, January 2, 2013

Work in Progress


Here is a peek at one of the quilts I hope to finish this month.
It is a twin size nine patch that still needs the outer border.
This project and I have been "frenemies" for a very long time.


The quilt top actually started out looking like the above photo.
It was given to me over 25 years ago by my Grandmother.
She had made it for a family member as a wedding gift.
When she showed it to them, they did not like it.  
Then Grandma didn't have the heart to finish it, and gave it to me.
It  sat in a dresser drawer at my house for the next 25 years.
Every so often, I would pull it out and look at it, 
but I could never quite decide what to do with it.


Part of the dilema was that I didn't like the dark blue sashing either.
In my opinion it made the quilt feel somewhat oppressive.
Grandma also made this quilt late in life when her eyesight had begun to fail her.
Notice the uneven seams? 
As an inexperienced quilter, 
I could not figure how to quilt something with such uneven seams.


So...you guessed it. I tore the quilt totally apart, evened up
all the blocks, and purchased some additional fabric,.


Once all the blocks were laid out, I decided there were
enough blocks to make two twin size quilts.
Perfect for the guest room where the grandkids sleep over:)


Lighter sashing fabric was then added to blocks and 
two twin sized quilts were constructed.


Ahh! That's more like it. Bright and cheerful:)


Today I was able to purchase the fabric for the outer borders and
began auditioning various machine quilting patterns.


One of my personal goals for 2013 is to expand my machine quilting skills.
I have come the conclusion that it will not happen without practice.


Hopefully I will end up with two lovely quilts Grandma 
would be proud of, 
and the "frenemy" quilt will finally be loved:)


Linking up today with...


May you always Sew in Peace!

Saturday, December 29, 2012

Free Motion Quilt Challenge Update


Just under the wire to call this quilt a finish for 2012!


I began the process by basting the quilt together.
You can see the method I use to baste quilts here.


December's Free Motion Quilting Challenge featured several
different border patterns and was taught by Patsy Thompson.
I have several of Patsy's quilting DVD's and enjoy her style of teaching.
The secret to her method is to break down the project into manageable parts.


Following her instructions, as you can see in the above photo, I made
tick marks along the border at 1/2" increments to keep my quilting balanced.
(Be sure to use a disappearing ink or water-soluble pen.)


Once the tick marks were in place, the machine quilting
was easier than I anticipated and each border row was
quilted without incident.


Even though it is difficult to tell, there are feathers quilted
in the green border. The thread I chose and the print in the fabric
make them a bit difficult to see....but they are there. Really they are! lol
In some ways, it was a bit freeing because I wasn't paranoid about 
making mistakes since the feathers were not quite so visible.


A peek at the back.


In conclusion, Patsy was right when she said, "It looks complicated, but you can do this!"
The top was made using my scrappy postage stamp quilt tutorial
and measures 50"x57".

Check out the other finishes this week at

May you always Sew in Peace!


Friday, March 23, 2012

Colorbrick Quilt


The Simplicity quilt started last month is now a finish!
The tutorial for this quilt is posted at Stitched in Color.
The pattern calls for "bricks" cut to 10"x 5.5" so
the quilt sews together pretty quick.


I began the process by laying out all the bricks on my
design wall in random order.


Stitched in Color posted a tip on her site about using
painter's tape to mark the rows of the quilt as you sew them 
together. I took it a step further and used painter's tape to mark
the bricks as I sewed them together. It worked great and eliminated 
a lot of confusion as the rows were sewn together.


The painter's tape was also useful as the seams were pressed
at the completion of each row.


The biggest "opportunity" I had in piecing this
quilt is that I should have chosen a heavier fabric to use
for the sashing. The sashing is the glue that holds this 
project together so be sure to choose a fabric with a
tight weave if you make one for yourself.


One of my personal goals for this year is to expand
my machine quilting skills. I purchased a wonderful DVD
by Patsy Thompson called "Fast and Free" which is full
of machine quilting design ideas. The above pattern is from
the Loop-D-Loop family. The awesome thing is that Patsy
offers a series of free patterns and videos that can be downloaded
off her website if you would like to check it out:)


This was the first time I've used this particular machine quilting design on a quilt
and I'm pretty happy with how it turned out. I actually found it quite
relaxing to stitch out and a nice change of pace from the basic
stippling pattern that I normally use.


Here is a close-up of the quilting on the back. The thread is difficult
 to see since the shades of color are so similar, 
but it does add a nice texture to the back of the  quilt.


In conclusion, this was a fun quilt to make 
and it was liberating to try several new techniques.

Check out the other finishes this week at

May you always Sew in Peace!

Thursday, July 21, 2011

Postage Stamp Quilt Tutorial


My scrappy postage stamp quilt begins with a variety of 2 1/2" squares of fabric.
I picked up this box of pre-cut fabric and miscellaneous blocks at an auction for $3.00. 

I'm all about eliminating clutter, so these quilt blocks are being recycled.

It did not take long to discover that some of the auction squares were not
totally "square". To resolve this issue, I cut a white square 2 1/2" x 2 1/2".
You can see it in the photo above on the right.

When the auction fabric is laid on top of the white square,
it is easy to determine if each piece of  fabric measures true to 2 1/2 inches.
The squares that did not measure up were set aside for another day.

The auction fabric was then sorted into piles according to color.
The squares fit perfectly into this wooden silverware box
making it easy to select various color combinations.


Materials List
  • various scraps cut 2 1/2" square (total of 183)
  • white or neutral fabric cut 2 1/2" square (total of 182)
  • 2 strips of fabric cut 2 1/2" x 29 3/4" (for top and bottom of inner border)
  • 2 strips of fabric cut 2 1/2" x 41 (for sides of inner border)
  • 2 strips of fabric cut 3 1/2" x 37 1/2" (for top and bottom of outer border)
  • 2 strips of fabric cut 3 1/2" x 51 1/2" ( for sides of outer border)
  • batting 46" x 54"
  • fabric cut 48" x 56" for backing
  • fabric cut 2 1/2" and sewn into 190" strip for binding
  • finished quilt measures approximately 42 1/2" x 50 1/2"


Step 1: Sewing the Center


  •  Sew squares using 1/4" seam allowance alternating one white fabric with one scrappy fabric.
  •  There are 15 squares in each row.
  •  There are a total of 19 rows.
  •  When this step is completed your project should measure approximately 29 1/2" x 37 1/2".
  •  Press seams.


Step 2: Attach Inner Border
  • Attach inner border (A) by sewing a strip of the 2 1/2" x 29 3/4" to the top and bottom.
  • Attach inner border (B) by sewing a strip of the 2 1/2" x 41" to the sides.
  • Press seams.


Step 3: Attach Scrappy Border

  • Attach scrappy border (A) by sewing 17 squares to the top and bottom.
  • Attach scrappy border (B) by sewing 23 squares to the sides.
  • (Please note: I could not display the correct number of squares for the border in the above diagram.)
  • Press seams.


Step 4: Attach Outer Border

  • Attach outer border (A) by sewing a strip of the 3 1/2" x 37 1/2" to the top and bottom.
  • Attach outer border (B) by sewing a strip of the 3 1/2" x 51 1/2" to the sides.
  • Press seams.
  • Finished quilt top should measure approximately 42 1/2" x 50 1/2"


Square up corners.

Pin quilt top to batting and backing.
Click here learn how to pin baste a quilt.

Painters tape is an easy way to mark a quilt for straight line quilting.


Complete quilt by attaching 2 1/2" binding.

Enjoy!

May you always Sew in Peace!
Sandra