Showing posts with label Quilts Finished 2012. Show all posts

Friday, March 23, 2012

Colorbrick Quilt


The Simplicity quilt started last month is now a finish!
The tutorial for this quilt is posted at Stitched in Color.
The pattern calls for "bricks" cut to 10"x 5.5" so
the quilt sews together pretty quick.


I began the process by laying out all the bricks on my
design wall in random order.


Stitched in Color posted a tip on her site about using
painter's tape to mark the rows of the quilt as you sew them 
together. I took it a step further and used painter's tape to mark
the bricks as I sewed them together. It worked great and eliminated 
a lot of confusion as the rows were sewn together.


The painter's tape was also useful as the seams were pressed
at the completion of each row.


The biggest "opportunity" I had in piecing this
quilt is that I should have chosen a heavier fabric to use
for the sashing. The sashing is the glue that holds this 
project together so be sure to choose a fabric with a
tight weave if you make one for yourself.


One of my personal goals for this year is to expand
my machine quilting skills. I purchased a wonderful DVD
by Patsy Thompson called "Fast and Free" which is full
of machine quilting design ideas. The above pattern is from
the Loop-D-Loop family. The awesome thing is that Patsy
offers a series of free patterns and videos that can be downloaded
off her website if you would like to check it out:)


This was the first time I've used this particular machine quilting design on a quilt
and I'm pretty happy with how it turned out. I actually found it quite
relaxing to stitch out and a nice change of pace from the basic
stippling pattern that I normally use.


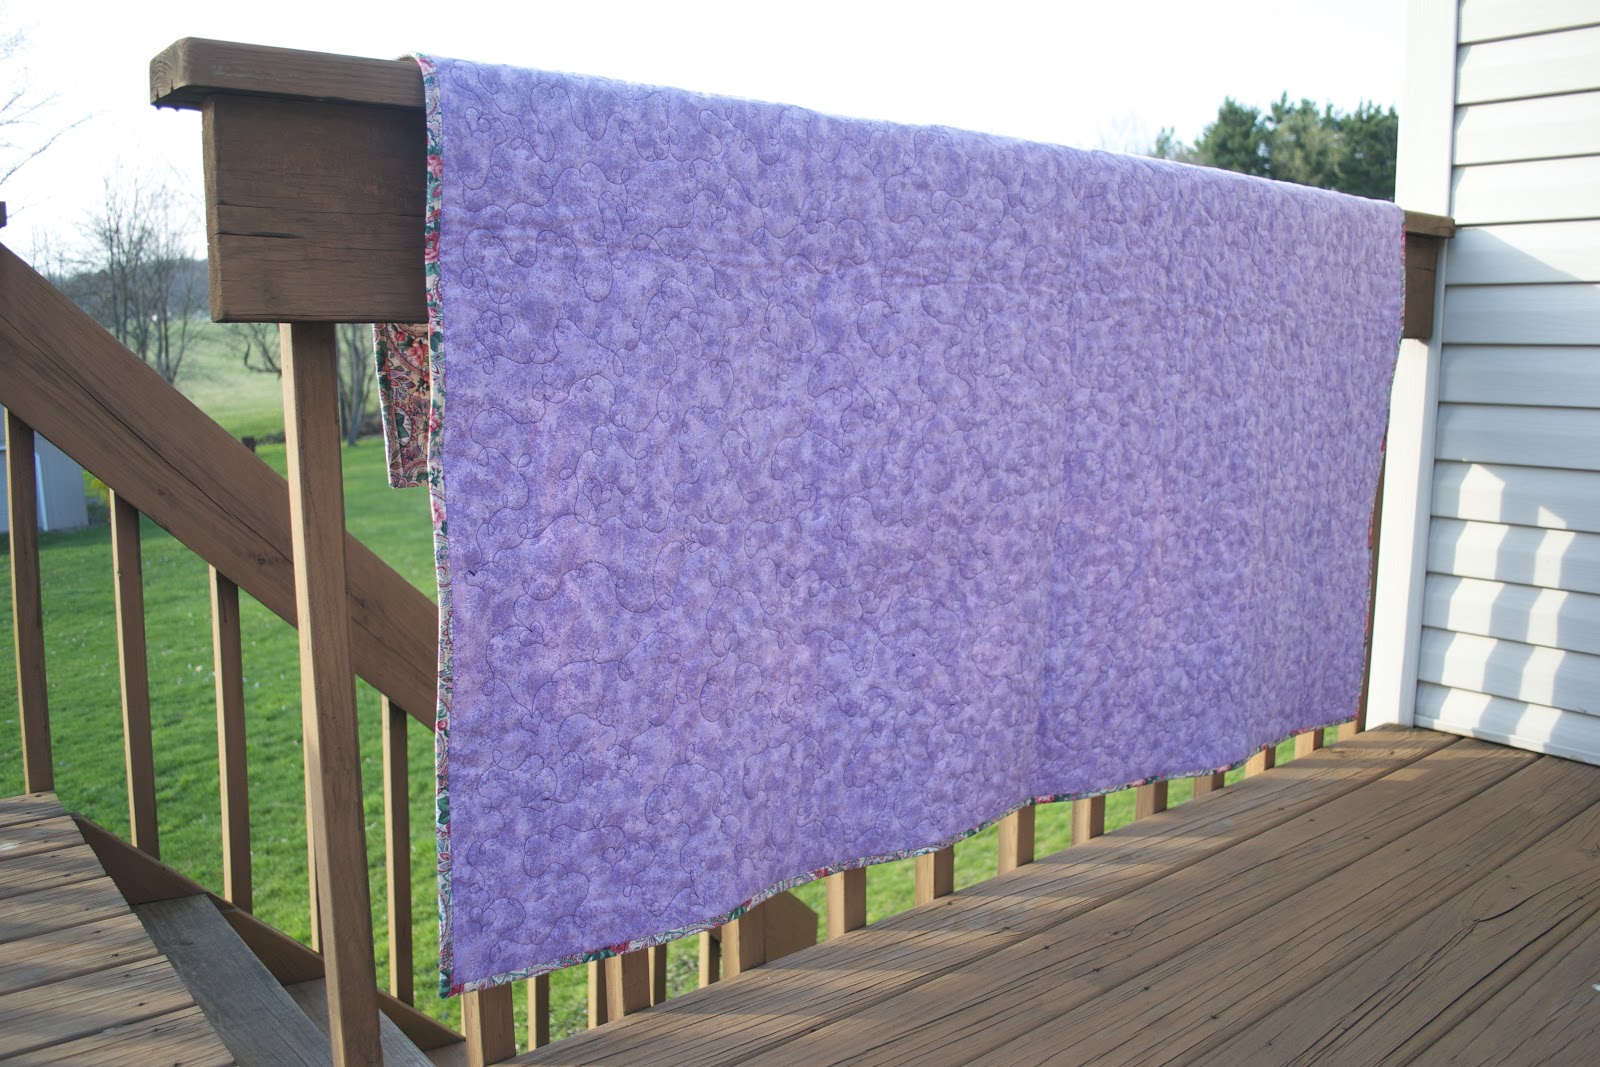
Here is a close-up of the quilting on the back. The thread is difficult
 to see since the shades of color are so similar, 
but it does add a nice texture to the back of the  quilt.

In conclusion, this was a fun quilt to make 
and it was liberating to try several new techniques.

Check out the other finishes this week at

May you always Sew in Peace!

Friday, February 10, 2012

Homeward Bound


Behind every unfinished quilt is a story waiting to be told.
The blocks for this UFO came from a block-of-the-month 
at a local quilt shop and have been sitting
 in the same box for about ten years.


The entire block-of-the-month program was a frustration.
Since the directions were poorly written,  
the blocks ended up as varying sizes.
I also hated the mixture of fabrics the shop owner selected.
In an attempt to salvage the project, 
as an inexperienced quilter I sewed narrow borders 
on several of the blocks to try to even them up.
The result was a whole bunch of ugly!


So at this point, 
not only did I hate the fabrics
but there was no unifying pattern to tie the blocks together.


My older and wiser self decided 
 it was time to conquer this UFO!
The first thing I did was tear off many of the narrow borders 
and re-frame each block in navy to tie all the blocks together.
Each block was then squared up to 12" to hide all the varying sizes.
Ah! That's much better!


To complete the top, a two inch strip of Kona snow was used for sashing
and a narrow, scrappy border was added in the outer border.
Finished size of the top is 62" x 75".


Here is a close up of a few of my favorite blocks.


This former unwanted and unloved UFO 
is now moving on to bigger and better things!
It has been lovingly named "Homeward Bound"
and will be donated to the Quilts of Valor organization. 
Special thanks to Alycia who has generously volunteered to 
machine quilt this!

Do you have any UFO's waiting to be finished?

Linking up with:

 May you always Sew in Peace!

Tuesday, January 31, 2012

Snowman Mug Rug


Before Christmas I ran across an awesome tutorial to make a snowman mug rug,
but the finished product ended up as a 9" square which was a little larger than I wanted.
The snowman mug rug shown above finishes out at 5 1/2" x 7 1/2".
Here is what I did to alter the pattern.
  • 1 - ivory fabric cut  4 1/2" x 4 1/2"
  • 4 - red dot fabric cut 2" x 2" for corners
  • 2 - red dot fabric cut 2" x 5" for the sides of the block
  • 2 - red dot fabric cut 1" x 9" for the top and bottom of the block
  • 1 - backing fabric cut 7 1/2" x 9"


I followed the basic sewing instructions from the original tutorial
but when I got to step 8 this is what I did.


After the carrot nose is applied using an iron-on bonding adhesive,
I laid a strip of tear away embroidery stabilizer  beneath my block before I began
to stitch the nose in place. 


I basically just laid the stabilizer on the back of the block,
then flipped the block 
over to begin outlining the nose.


The embroidery stabilizer has just enough body to 
stabilize the fabric as the carrot is attached.
I used a simple zig-zag stitch set to a very narrow width
for my outline. 


The stabilizer instructions indicated that it can be "torn away" from the fabric,
but I opted to cut it away with a sharp scissors.
If you decide to cut the stabilizer away at this point, 
pay careful attention that you do not cut into the snowman
or it will make him very sad and possibly nose-less!


The snowman face is machine quilted using a simple meandering stitch. 
The rest of the mug rug was straight-line quilted 
using the markings on a walking foot as a stitching guideline.


A few more hours of work and I'll have this stack of snowmen
completed and ready to store away for next Christmas:)

Linking up with:

May you always Sew in Peace!

Monday, January 30, 2012

January UFO Finish


I started this I Spy quilt for my grandson several months ago and was finally 
able to finish up the machine quilting. 
The center is pieced with 77 - 5" I Spy blocks.
The outer border is made by joining 2 1/2" x 5" rectangles.
The outer border also has a 5" block to anchor each corner.
Finished size is approximately 44" x 62".
Here are a few of my favorite blocks.


The back was pieced with 
"Wheels by My Mind's Eye" by Riley Blake Designs 
and features different modes of transportation.
The flannel is ultra soft and snuggly.


Although the quilt does not appear to be square in this photo...it is!
Apparently the photographer will need to  pay closer attention in the future:)


Now that my design wall is empty, 
 it's time to get busy on the next project.


Linking up with:


May you always Sew in Peace!