Showing posts with label Vintage. Show all posts

Friday, January 27, 2012

Sewing Caddy


Seems I'm always making something to give away, but
this week my focus was to complete a sewing caddy for personal use.


The pincushion is made with an enclosed bag of uncooked rice,
and polyester fiberfill. The pincushion includes several
vintage fabrics given to me by my grandmother, and two
antique buttons inherited from my great-grandmother.
This makes me smile.


It features a detachable waste basket.


 Best of all, the pattern was based on a free tutorial designed by 
Elizabeth Hartman for Sew, Mama, Sew.
Wouldn't you enjoy one for yourself?


where you can see other awesome projects that were finished this week.


May you always Sew in Peace!

Thursday, May 19, 2011

Grandmother's Flower Garden - Literally!

In the past, quilters gathered in churches accross this nation to raise support those on the mission field.
I was fortunate enough to grow up in such a church. In fact, the above photo was taken for an article which appeared in our county newspaper back in the 1960's. The lady in the center was my great-grandmother.
She had a loving personality and devoted herself to caring for her family and those around her. If you look closely, you can see a white handkerchief laying on her lap under the quilt. I cannot ever remember seeing her without one of those handkerchiefs. However, I'm not sure what is up with that large white collar on her dress...lol. Being the thrifty person that she was, she was probably covering a hole or a stain on her dress.

The lady on the far right is her daughter, my grandmother. It is hard for me to express how deeply I love this woman, for she is in many ways my inspiration. She was smiling in this photo which was characteristic of her personality, and always looked at the drinking glass as being half-full. She was also my neighbor and I credit much of my early skills in sewing to the patience she extended toward teaching me. You may be interested to know that I was also present when the above photo was taken. I was pretty young at the time and spending the day with my grandmother. When the photo was taken I was on the floor under the quilt!

Recently, I had the opportunity at auction to purchase several quilts from my great-grandparents estate.
This Grandmother's Flower Garden quilt top was among the collection. I'm not certain when it was made, but my guess is that my grandmother and her sisters pieced it together during the 1930's when they were young girls. I can picture the three girls toting around these blocks to local sewing bees and proudly adding their blocks to the quilt. Some of the fabrics are most certainly original 1930's fabrics and my mother believes feed sack fabrics were used as well.

Here is a close up a few of the blocks.


Some are nicely pieced...


...and others not.

Sadly, at one time this top was washed and the edges are frayed.
It looks as if muslin was used for the pathway and it is pretty thin.
I guess I should fill in one more piece of information and tell you that this is one of 13 quilts I was able to acquire from my great-grandmother's collection.
The the awesome thing is...I didn't pay much for them, but that is a story in itself for another day.

So given the condition of this quilt top and the sentimental value to me personally, what would you do? Would you quilt it? Would you open up some of those ugly seams and correct them?
I'd love to gain some insight from others! 

                         Oh and I almost forgot! Here are my flowers for One Flower Wednesday.


I was able to finish two this week.

May you always Sew in Peace:)
Sandra

Monday, April 19, 2010

New to Me - Singer 201


I've been searching for the "ideal" sewing machine for
machine quilting. I'm not sure this is it...but I'm willing
to give it a try.

Over the holidays I test drove this model...a Bernina 830.
It has all the bells and whistles and a 12 inch throat space.
 It also has the ability to be mounted on a frame for machine
quiliting. Sweet! This machine has it all!
The only draw-back is the price...$12,000!
Yes, you are reading it right. Twelve grand for a sewing machine?
Are you serious? Several reviews I researched stated that
it takes a certified technician to repair it.
 So keep that in mind if you buy one.


Another machine I looked at was the Juki 98Q. It has
alot of nice features including the needle up/down button
and a knee lift to control the presser foot. It also has the
ablility to be mounted and used with a quilting frame.
It only features a straight stitch but for the price of
 about $1,000 it definitely was a contender
in my list of options.
The throat space on this machine measures 9" x 6".


While gathering information online, I ran across the Singer 201.
This gear driven machine was first made in the 1930's and
was the top of the line model during that time period.
The production line ran for about twenty years,
and was marketed as an "industrial" strength
machine for the home. It has a  throat space
measuring 8 1/4" x 5 3/4".
 It only offers a straight stitch like other
Singers made during that time period, but attachments
can be added to enable button holes and zig-zag stitches.
It has low shank attachments
 that are compatible with the Singer 221.


I actually watched quite a few
machines sell on ebay, but the thing that bothered me about an
online purchase was that I could not see and hear
the machine run. So imagine my delight to find this beauty
for sale on craigslist!
The lady posting the ad was very knowledgeable about
the machine itself and was able to answer all my questions.
 In fact, she has her own little online store specializing in
vintage sewing machines.
(If you are in the market for a vintage machine,
I can highly recommend doing business with Julia!)


The Queen Anne's cabinet features a knee controller
that actually controls the foot pedal.


(I had to stand on my head to get this photo..so look closely! )
It took me awhile to get the hang of it, but I think
I'm going to like using this feature.


When fully opened, this cabinet makes a sizeable workspace.
Although it needs some TLC, this cabinet is a keeper.
 I'm hoping to refinish the top sometime soon to restore it
to it's former glory.


This particular machine was made in 1939 and features
 scroll work on the face plate. The face plate was changed
to a simpler design during WWII. So if you see a model 
with the scroll work,
you will know it was made before the war began.


The paint is in great condition for it's age...other than a few
chips here and there and some wear along the front edge.


The motor sounds great...and actually hums!
The feed dogs drop for free motion quilting.


It came with all these wonderful accessories!


The best part however, is that it makes a beautiful stitch!
Look closely...do you think this stitch looks any
different from the stitch of the $12,000 machine?

Tuesday, April 6, 2010

Vintage Tin Liner


When I was a little girl, I was blessed to grow up on a farm
down the road from my grandparents.
She was a homemaker, skilled seamstress, and had
compassion for those around her.
Looking back, it seems every time I stopped to see her
she would say, "Let me show you what I'm working on."
and would pull out her latest project to show me.
Perhaps those moments of sharing have influenced
me more than I know. Perhaps she could see my desire to learn.
It definitely created a bond between us.

This vintage tin was where she kept her embroidery floss.
When I was old enough to handle a needle, she taught me to
embroider, beginning with simple projects.
This little doily is the first thing I made.


I do not remember my age, but I was in elementary school.
Can you tell by looking at the back? LOL


So...on to the tin liner. First, trace a line around
the circumference of the tin itself.


Choose a piece of fabric large enough for the size of your tin.
(I pieced together vintage fabric from my treasure box.)


Make a sandwich with muslin on the bottom,
a layer of quilt batting, then the vintage fabric on top.
Pin together with safety pins.


Using painter's tape, I stitched a straight line
 across the length of the fabric.


Then using the painter's tape as a guide, stitch lines
across the entire fabric.


This is a photo of the muslin on the back of the quilted fabric.


After cutting out a second circle,
 put the layers right sides together and sew around the edge
 leaving a small opening.


Pull the fabric right side out through the
opening and press the edges.


Whip stitch the opening, then machine stitch
around the outer edge.

By following these simple steps, you can make a simple
liner for a vintage tin. Before anyone asks...can you guess
what I just bought?
Here's a hint....it goes with the contents of the tin!

Saturday, April 3, 2010

Vintage Treasure Box


One of the added benefits of cleaning your sewing room
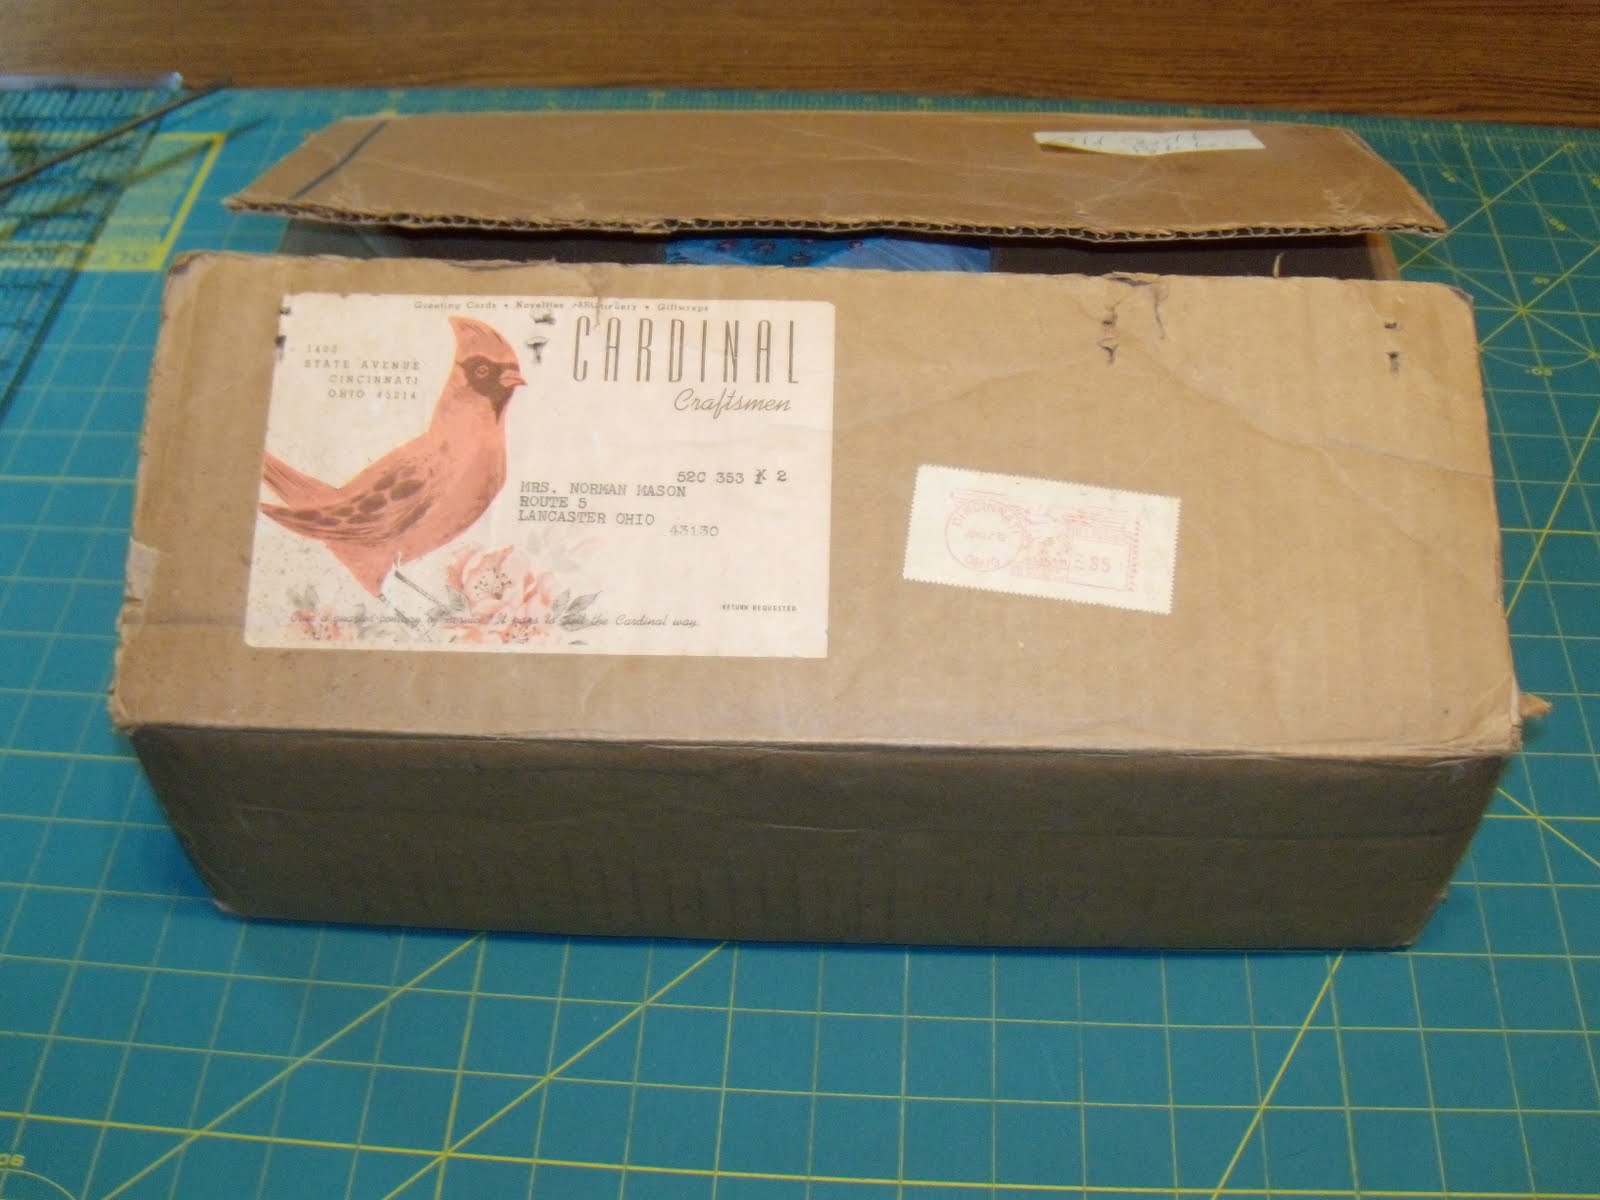
is finding things you have forgotten about. This box
was given to me years ago by my grandmother. 
It is filled with unfinished projects
 from her childhood.


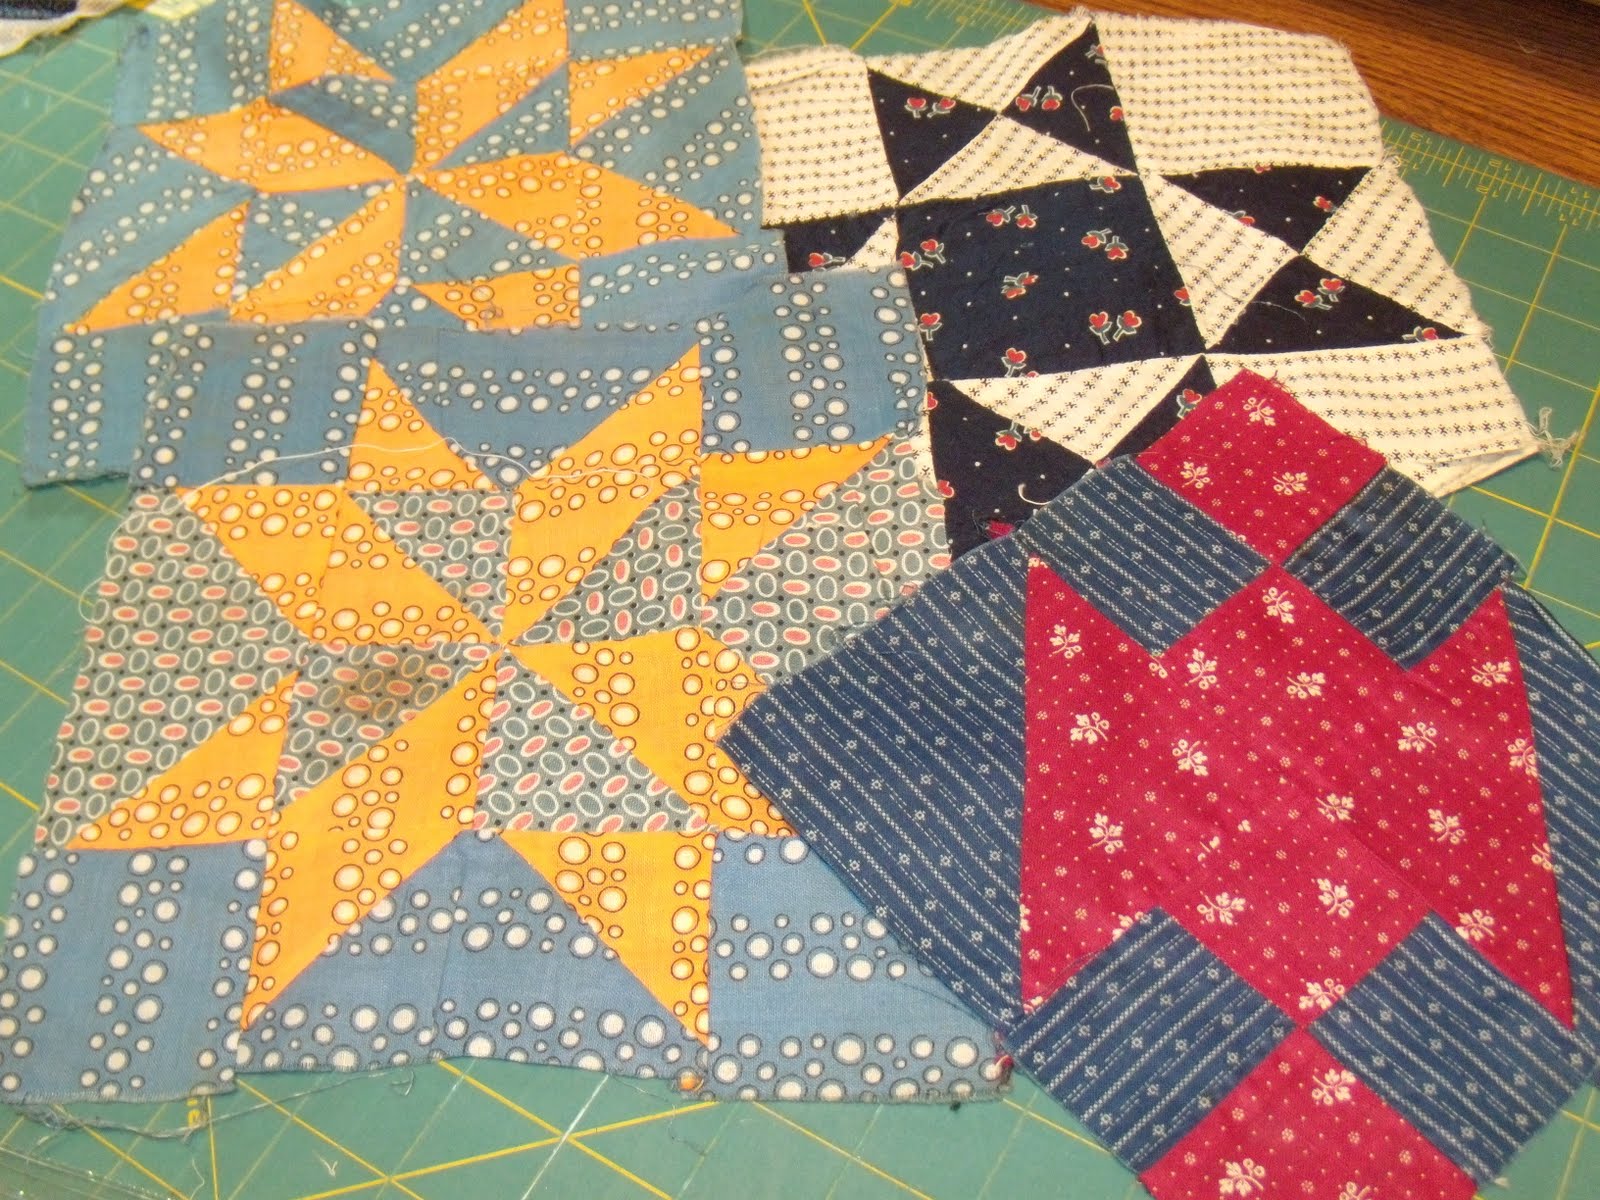
There are various scraps of vintage fabrics...


and blocks that she pieced together as a young girl...


...most of them by hand. I remember her telling me a
story about how the women in the neighborhood would
gather together for sewing bees.
They would meet in homes and do some type of hand sewing
 in their laps.  As they worked, one particular young girl
was bragging about her sewing skills  and was really
 getting on everyone's nerves.
At the end of the event, when they all stood up to leave,
she had sewed her project to her dress!


This is my favorite block.


I love the kitten in the center block. It appears to be winking.


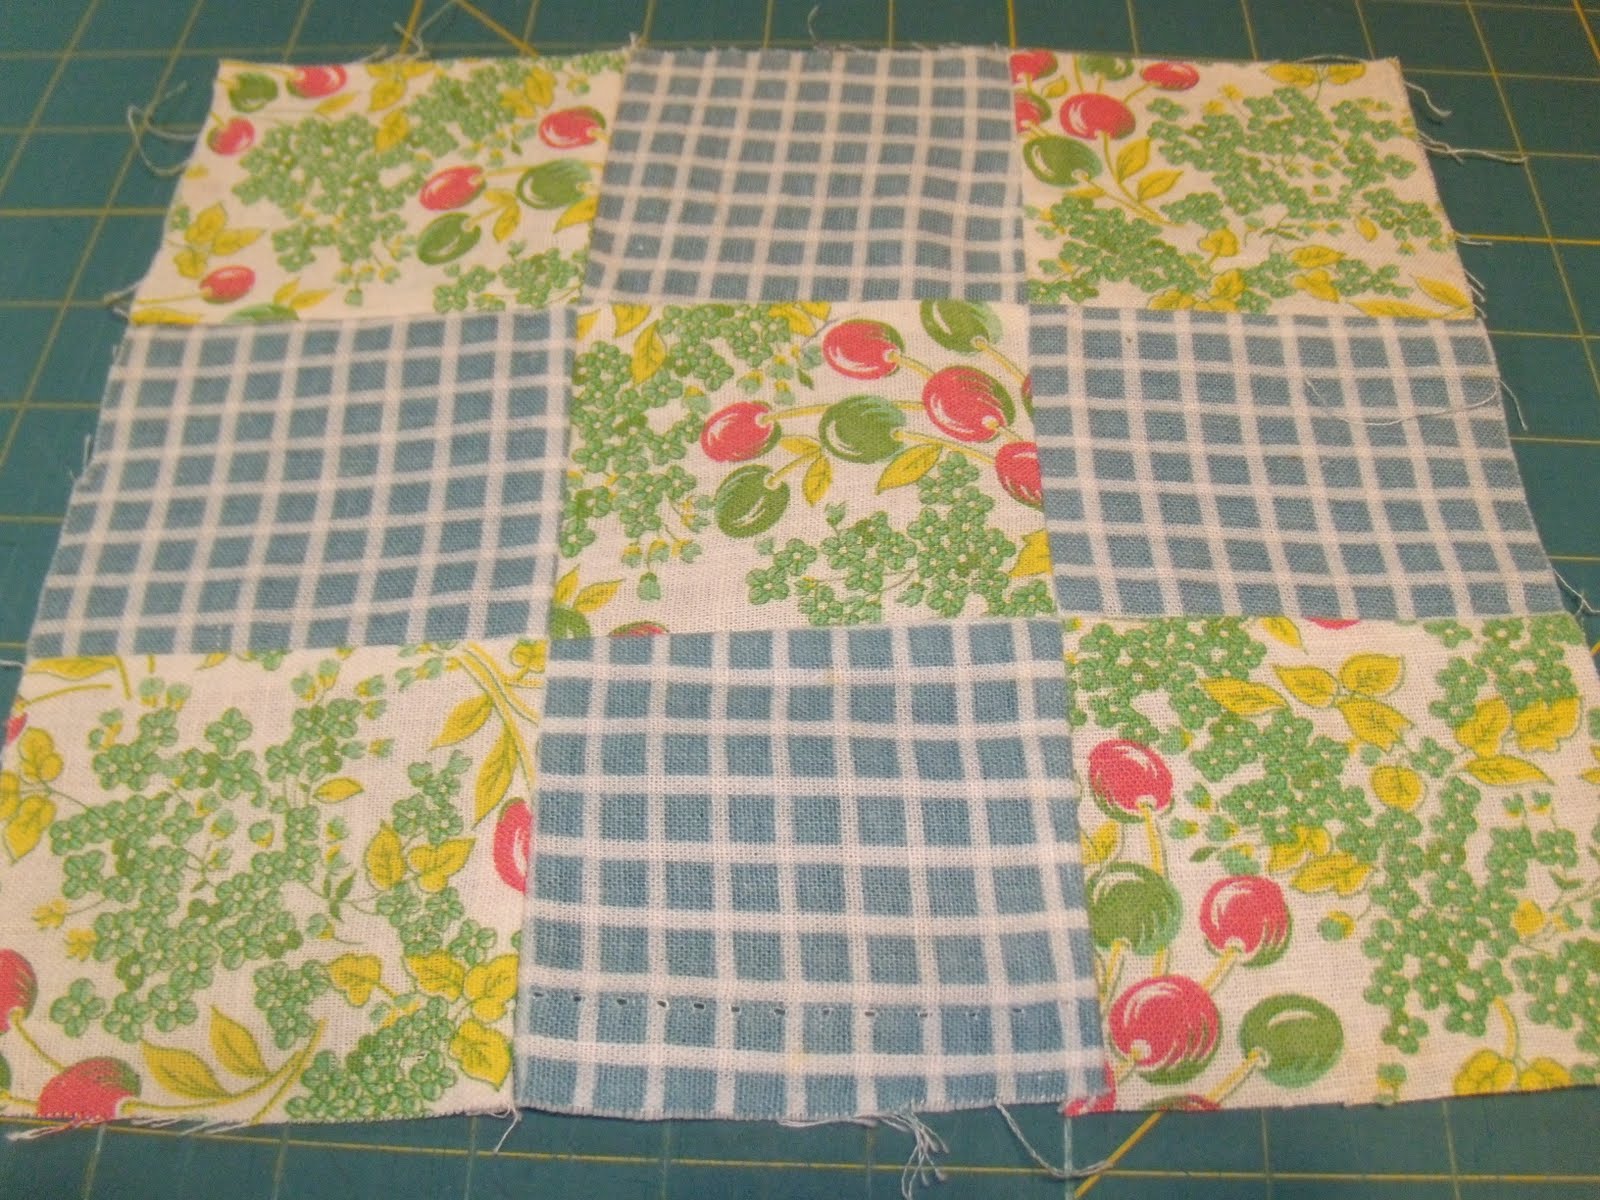
There are several projects that have been started
but not completed like this nine patch...


...and this dresden plate...


..and this crazy quilt.


Some fabrics are already cut into blocks...


...like these hexagons...


...and squares in various sizes.


For the moment, my intentions are to actually use the fabrics
in various small projects that I can pass on to my children
 and grandchildren. These fabrics would make such
cute little doll quilts or small wall hangings.
What suggestions do you have for these vintage fabrics?