Showing posts with label Mini Quilts. Show all posts

Tuesday, January 31, 2012

Snowman Mug Rug


Before Christmas I ran across an awesome tutorial to make a snowman mug rug,
but the finished product ended up as a 9" square which was a little larger than I wanted.
The snowman mug rug shown above finishes out at 5 1/2" x 7 1/2".
Here is what I did to alter the pattern.
  • 1 - ivory fabric cut  4 1/2" x 4 1/2"
  • 4 - red dot fabric cut 2" x 2" for corners
  • 2 - red dot fabric cut 2" x 5" for the sides of the block
  • 2 - red dot fabric cut 1" x 9" for the top and bottom of the block
  • 1 - backing fabric cut 7 1/2" x 9"


I followed the basic sewing instructions from the original tutorial
but when I got to step 8 this is what I did.


After the carrot nose is applied using an iron-on bonding adhesive,
I laid a strip of tear away embroidery stabilizer  beneath my block before I began
to stitch the nose in place. 


I basically just laid the stabilizer on the back of the block,
then flipped the block 
over to begin outlining the nose.


The embroidery stabilizer has just enough body to 
stabilize the fabric as the carrot is attached.
I used a simple zig-zag stitch set to a very narrow width
for my outline. 


The stabilizer instructions indicated that it can be "torn away" from the fabric,
but I opted to cut it away with a sharp scissors.
If you decide to cut the stabilizer away at this point, 
pay careful attention that you do not cut into the snowman
or it will make him very sad and possibly nose-less!


The snowman face is machine quilted using a simple meandering stitch. 
The rest of the mug rug was straight-line quilted 
using the markings on a walking foot as a stitching guideline.


A few more hours of work and I'll have this stack of snowmen
completed and ready to store away for next Christmas:)

Linking up with:

May you always Sew in Peace!

Tuesday, November 15, 2011

Mackenzie Gets a Quilt


This doll quilt was made by request for Mackenzie.


The colors and pattern were selected by my oldest granddaughter 
to match the flannel backing for the quilt.


The afternoon was spent planning and sewing together the quilt top.


Notice Mackenzie's face is covered 
so she will be surprised when we finish. 


"Mother" is pleased with the results...


...if only little brother will stay out of the way!


Mackenzie seemed pleased as well
and will most certainly sleep better now
that she has her own quilt:)


May you always Sew in Peace!
Sandra


Saturday, March 5, 2011

Doll Quilt Winner


First of all, thank you all for entering my little giveaway!
I continue to be amazed at the wonderful people I have met in blogland:)

Ok...so on to the results...


Congratulations Paula from Portugal!

Paula's entry said - "This is so sweet! Thank you for the chance!"

Paula please e-mail me you mailing address and this quilt should arrive at your house soon!
You have until Saturday, March 12th to contact me
and claim your prize or a new winner will be drawn.

May you always Sew in Peace!
Sandra

Tuesday, March 1, 2011

Doll Quilt Giveaway!


Spring is in the air and I'm in the mood for some fun!
Over the past two years I've been inspired, challenged, and encouraged
by visitors to my little blog.
So in the spirit of giving back, how about a
giveaway?


This little doll quilt (19" x 16") was made with you in mind.


It features a simplistic design with snippets of color on the front...


...and Michael Miller Bungalow Stripe for the backing and binding.


What to do to enter?

         1.  Leave a comment to this post = 1 entry              
         2.  Become a follower and tell me you did = 1 entry
         3.  Become a participant in my I Spy Swap and tell me you did = 1 entry 
         4.  Blog about the giveaway with a link back to this post and tell me you did = 1 entry


Giveaway closes at 9:00pm (EST) Friday, March 4th, 2011.
Winner will be announced Saturday, March 5th.
Good luck and thank you for participating!

Linking up with...


The giveaway is now closed.
A winner will be posted Saturday, March 5th.
Thank you for participating!

May you always Sew in Peace!
Sandra

Friday, February 25, 2011

Mug Rug Swap Update


I enjoyed participating in the Mug Rug Swap hosted by the Quilting Gallery.
The swap itself featured 330 participants from a total of 25 countries.
My partner, Sherry prefers bright colors
so I decided to plan my project around colorful fabrics and straight-line quilting.
When I saw a post by my friend QuiltyBee, I knew I had to try the pattern.


My Mug Rug is based on a placemat pattern posted by Handmade by Alissa.
She has easy to follow pdf directions you can download to make one for yourself.
I hope my partner will enjoy the colorful fabrics and the simplistic design.


On the receiving end of the swap, I was delighted when a package with two Mug Rugs
and a lovely handmade card showed up at my house...all the way from England!


My partner was Irene. She did a wonderful job creating these lovely
coordinating Mug Rugs. Thank you Irene! They are lovely!


In other news, my Souper- Simple Lunch idea was featured at
Humble Homemaking this week.
Be sure to check out all the yummy recipies that were submitted!


May you always Sew in Peace!
Sandra

Saturday, September 11, 2010

It's Here!


My doll quilt for Doll Quilt Swap 9
showed up in the mail today!
 My partner was Sara 
and my was she sneaky!
I had no clue what she was up to.


Isn't this little quilt lovely?
It's almost like she knew I was planning
to redo my guest room in blue!
It will match perfectly!

In addition to the quilt, she also sent a
beautiful piece of Windham fabric,
a spool of machine quilting thread,
a package of Schmetz needles,
and....some buttons!
Very thoughtful! Thank you Sara!

May you always Sew in Peace!
Sandra

Tuesday, September 7, 2010

Chocolate Pinwheels

Oh a happy note...


...today I mailed out my quilt for the Doll Quilt Swap!


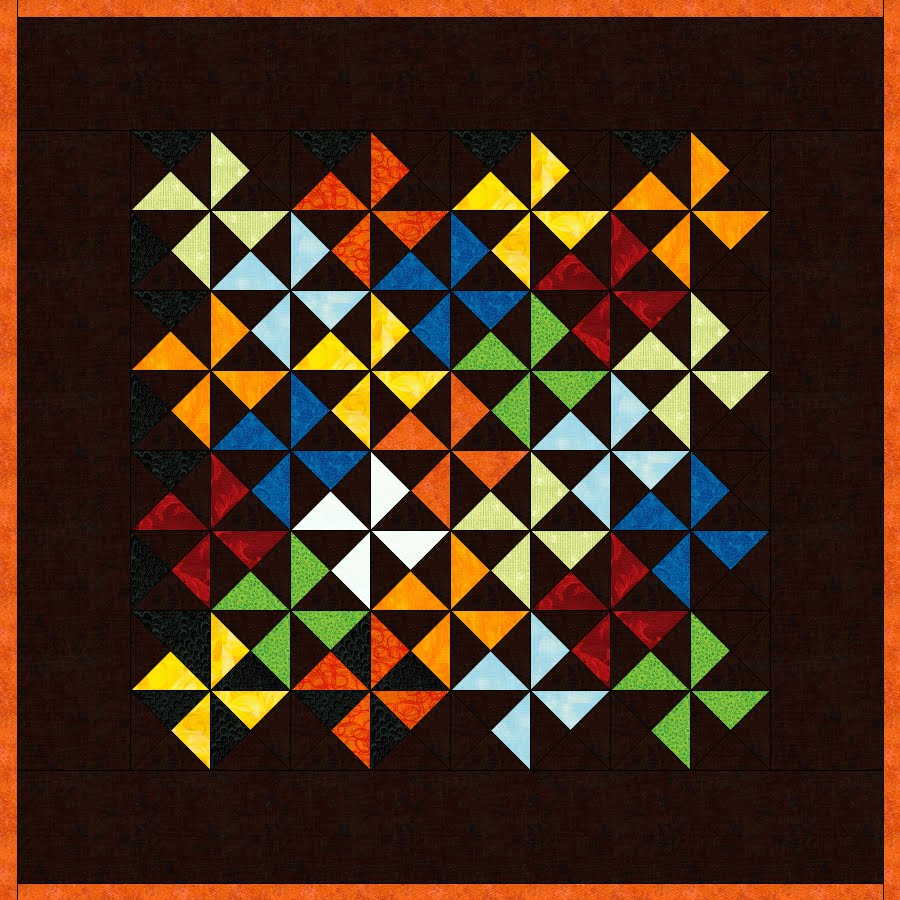
This was my final design in EQ6...


...and the finished product.
 When I found the deep brown fabric at
my local quilt shop, my first thought was...chocolate!
Who doesn't like chocolate!
 I  love the contrast it makes aganist the bright fabrics.


For the back I used "Bungalow Stripe" by
Michael Miller Fabrics.
I actually found this fabric first,
 then used it to find the coordinating colors for the
pinwheels on the front.


I tried a new technique for the label and plan to do a tutorial soon.
So partner...
I really hope this quilt will bring a smile to your face,
and that you will enjoy your
guilt-free "Chocolate Pinwheels"!

And on a sad note...
while taking the photos for this post
I dropped my digital camera.
 I'm thinking that is not a good thing...


May you always Sew in Peace!
Sandra

Sunday, August 22, 2010

Friday Night Sew In - August


For this month's Friday Night Sew In I was able to make
some progress on my project for the doll quilt swap.
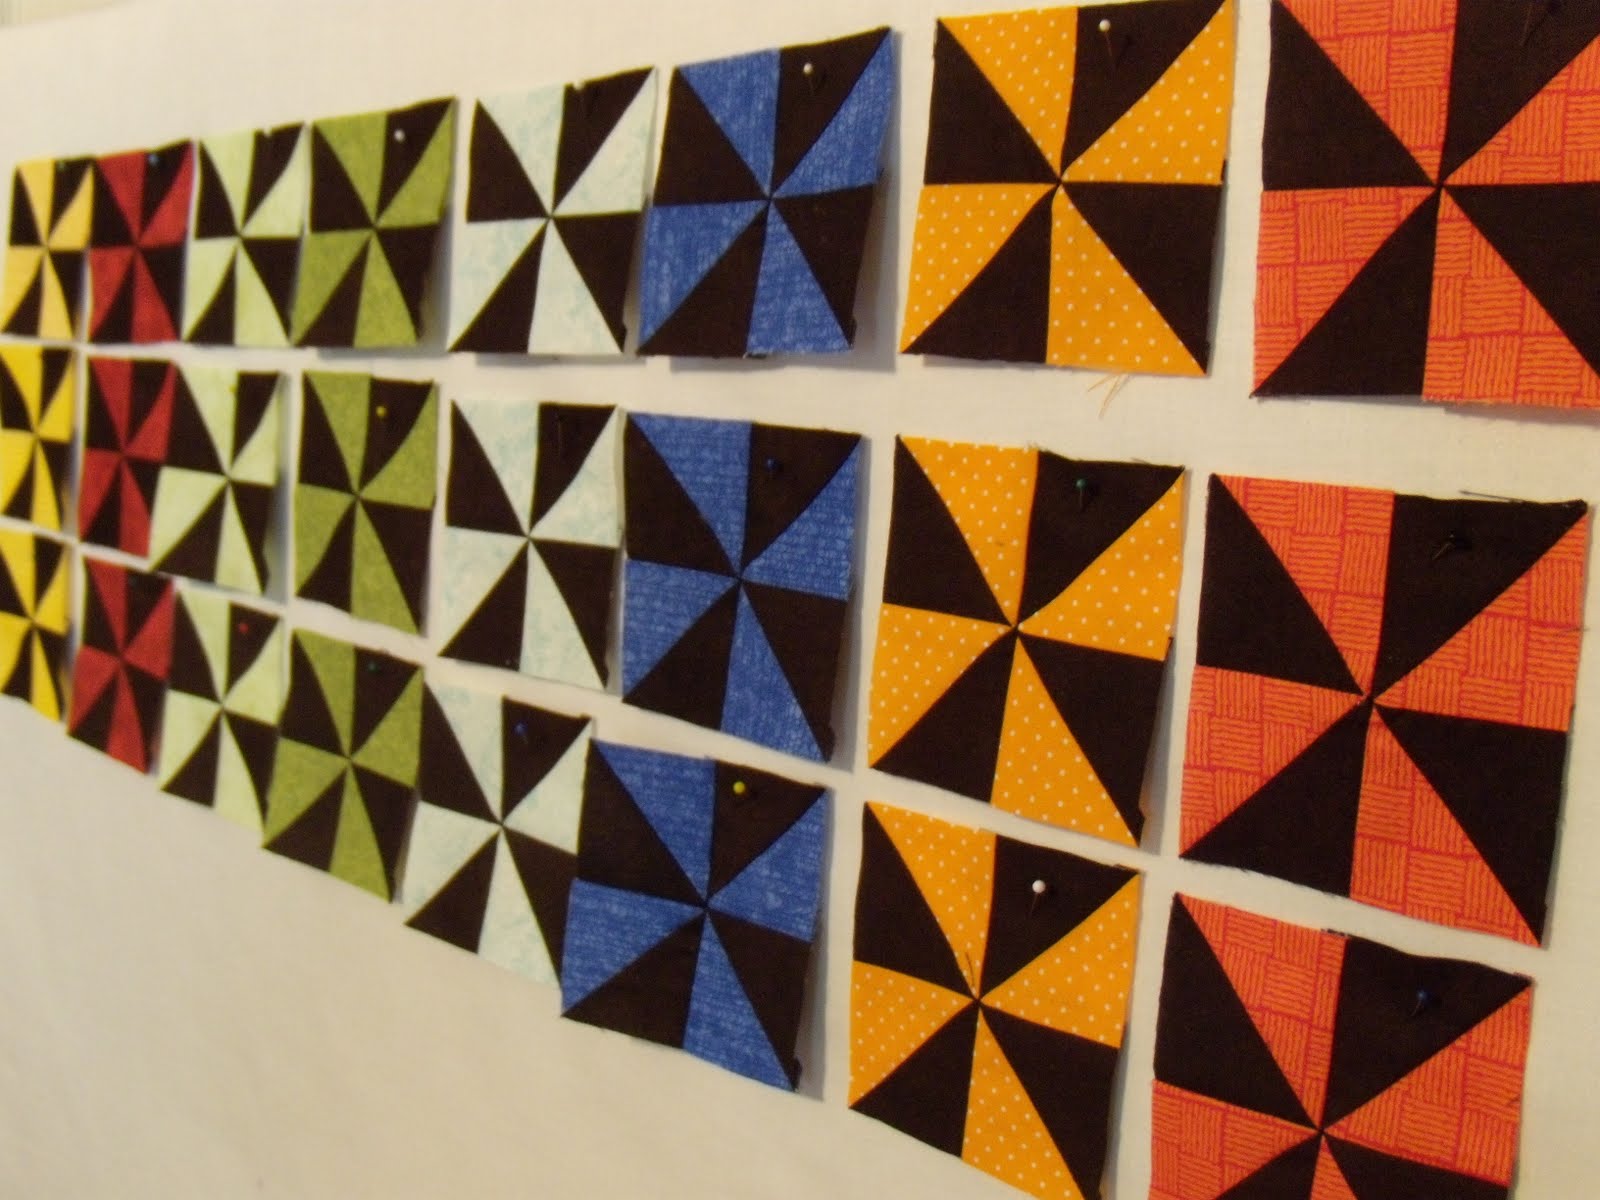
My partner loves bright colors...especially orange,
so I chose a variety of cheerful looking fabrics.
The background fabric looks black in the photo,
but is actually a rich chocolate brown.
Is it possible to go wrong when chocolate
is involved?


May you always Sew in Peace!
Sandra

Tuesday, August 10, 2010

Doll Quilt Swap 9 - In Progress


    After much thought considering the interests
of my partner,  I've finally decided
on a plan for my doll quilt.


My inspiration is a colorful striped fabric by
Michael Miller and an array of accent fabrics with
differing patterns.


I love it when a plan comes together:)


May you always Sew in Peace!
 Sandra

Sunday, May 9, 2010

Pick Me!


Postage Stamp Quilts are made of tiny squares of
fabric. This little doll quilt is made of 2 1/2" blocks
of various fabrics to match my sewing room. The top was
 made about a year ago and has hung on my design wall
waiting patiently to be completed.


Several weeks ago I purchased a Singer 201 and was
looking for the perfect project to test out it out. I glanced
around my sewing room and the little quilt top seemed to
scream "Pick me!" So using painters tape, I marked off
the rows and began quilting.


It didn't take long to finish the quilting and attach the binding.


Not sure why some projects go so quickly and others
you have to be in the mood to finish. If you are looking
for a little push to get you going, plan to join us
 May 21st for the Friday Night Sew-In.


Take a minute and listen to what is
screaming "Pick me!" at your house.

May you always Sew in Peace!
Sandra